Meta description: Learn how to plan, install, connect, and optimize a DIY security camera setup for your home with practical camera placement tips, Wi-Fi guidance, and setup best practices.
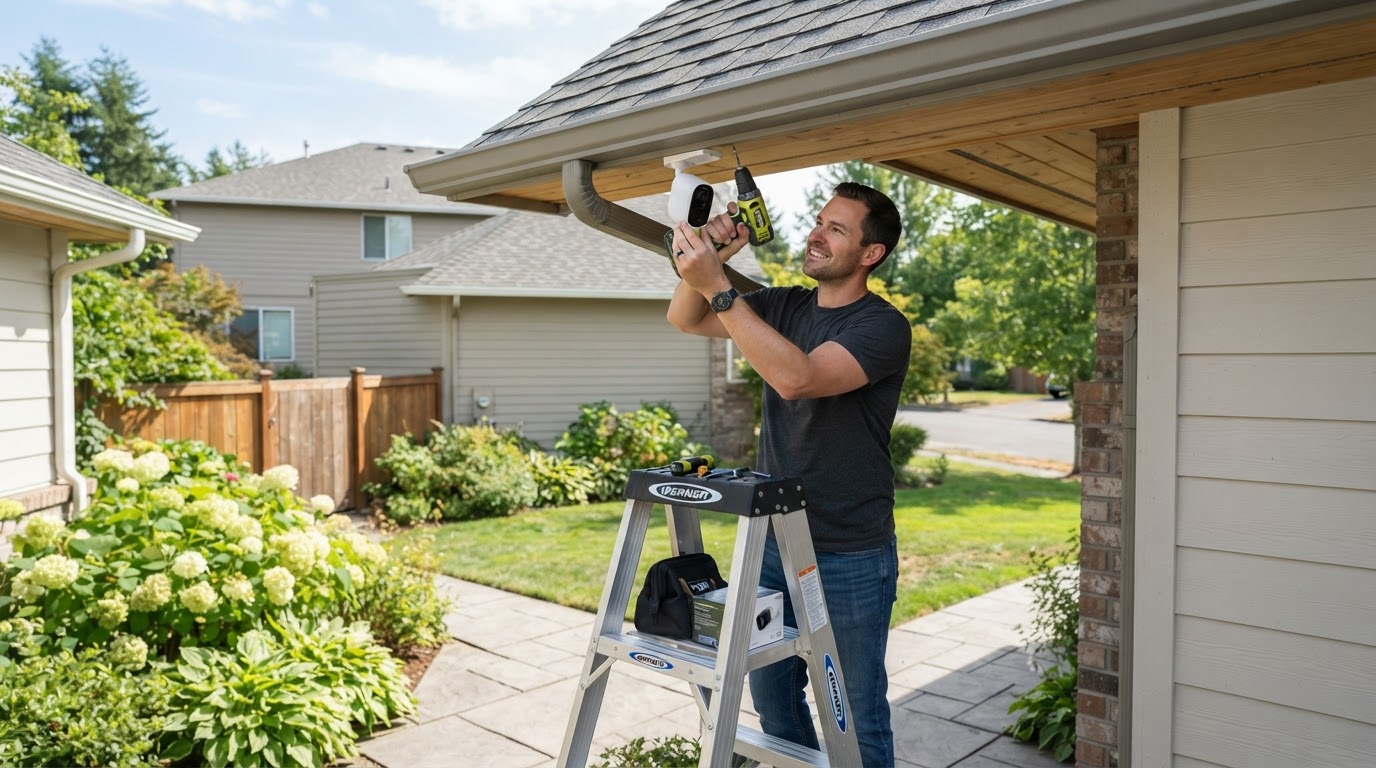
A DIY security camera setup can be one of the most practical upgrades for protecting your home, driveway, garage, or small business. Modern wireless and wired security cameras are easier to install than ever, but a reliable system still depends on smart planning, strong network coverage, proper mounting, and correct settings.
This guide walks you through the full process, from choosing camera locations to connecting your devices and improving night vision, motion alerts, and video storage. Whether you are installing one doorbell camera or building a complete home surveillance system, these steps will help you get better coverage and fewer blind spots.
Why Install Your Own Security Camera System?
Installing your own cameras gives you more control over where your system watches, how it records, and how much you spend. A DIY setup can be ideal if you want a flexible home security solution without waiting for an installer or paying for unnecessary equipment.
- Lower installation costs: You can avoid professional labor fees for basic installations.
- Custom camera placement: You decide which entrances, walkways, and outdoor areas matter most.
- Scalable protection: Start with a few cameras and add more over time.
- Remote monitoring: Most systems let you view live footage from a smartphone app.
Step 1: Plan Your Camera Coverage Areas
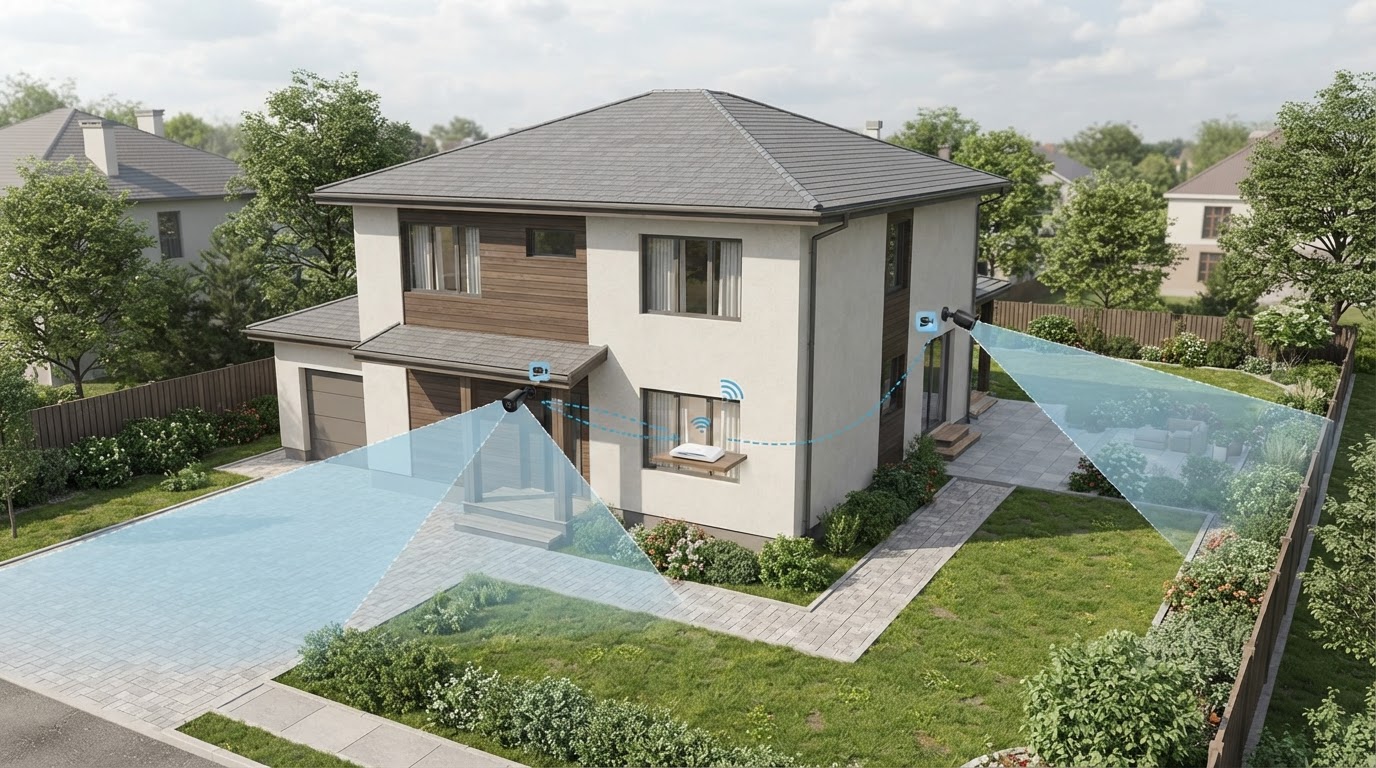
Before drilling holes or connecting devices, walk around your property and identify the most important areas to monitor. The best security camera installation focuses on entry points, high-traffic areas, and places where packages, vehicles, or valuables are located.
Best Places to Install Security Cameras
- Front door: This is one of the most important locations because visitors, deliveries, and potential intruders often approach here first.
- Driveway and garage: These cameras help monitor vehicles, tools, bicycles, and garage access.
- Back door and side gates: Secondary entrances are common blind spots in many homes.
- Backyard or patio: Outdoor living spaces often contain furniture, grills, sheds, and equipment.
- Interior entry areas: A camera near a main hallway or entryway can provide helpful coverage if someone enters the home.
Step 2: Choose the Right Type of Security Camera
The right camera depends on your property layout, power access, internet connection, and recording needs. For many homeowners, the decision comes down to wireless cameras, wired cameras, or a hybrid system.
Wireless Security Cameras
Wireless security cameras connect through Wi-Fi and are often easier for DIY installation. They are a good choice for renters, small homes, and areas where running cable would be difficult. However, they rely on strong Wi-Fi and may need battery charging or nearby power.
Wired Security Cameras
Wired cameras generally offer more consistent performance because they do not depend entirely on Wi-Fi. Power over Ethernet systems can send power and data through one cable, making them reliable for larger homes, garages, and multi-camera setups.
Step 3: Check Wi-Fi Strength and Power Access
For wireless cameras, Wi-Fi strength is just as important as camera quality. A camera with weak signal may disconnect, delay alerts, or record low-quality clips. Use your phone to test Wi-Fi signal in each planned camera location before mounting anything permanently.
- Place your router in a central location when possible.
- Consider a mesh Wi-Fi system for larger properties.
- Avoid placing cameras behind thick brick, metal, or concrete barriers.
- Confirm whether each camera needs a battery, outlet, solar panel, or Ethernet cable.
Step 4: Mount Cameras at the Right Height and Angle
Camera height and angle can make the difference between clear footage and unusable video. As a general rule, mount outdoor cameras high enough to reduce tampering but low enough to capture faces, vehicles, and activity details.
For many homes, a height of about 8 to 10 feet works well for exterior cameras. Angle the camera slightly downward and test the live view before tightening the mount. Avoid pointing cameras directly at bright lights, reflective surfaces, or the rising and setting sun.
Step 5: Connect the Camera and Configure the App
Once the camera is mounted, follow the manufacturer’s setup process to connect it to your app, Wi-Fi network, or recorder. Create a strong account password and enable two-factor authentication when available. This helps protect your security footage from unauthorized access.
- Name each camera clearly, such as “Front Door” or “Driveway.”
- Set motion zones to focus on doors, gates, walkways, and vehicles.
- Adjust sensitivity to reduce false alerts from trees, traffic, or pets.
- Test push notifications on your phone.
- Confirm that recordings are saving correctly.
Step 6: Improve Night Vision and Motion Detection
Night vision is essential for outdoor security camera performance. If your camera uses infrared night vision, avoid mounting it too close to walls, roof overhangs, or reflective surfaces. These can bounce light back into the lens and wash out the image.
For the clearest nighttime footage, test the camera after dark and make adjustments. You may need to change the angle, add motion lighting, or reduce reflections from nearby surfaces.
Common DIY Security Camera Setup Mistakes to Avoid
- Mounting cameras too high: This may capture the top of someone’s head instead of a usable face view.
- Ignoring Wi-Fi coverage: Weak signal can cause delayed alerts and missing footage.
- Forgetting storage settings: Confirm whether footage saves to cloud storage, a memory card, or a local recorder.
- Pointing cameras at private neighboring areas: Aim cameras at your own property to respect privacy.
- Skipping routine checks: Clean lenses, charge batteries, and test recordings regularly.
DIY Security Camera Setup Checklist
- Identify all entry points and high-value areas.
- Choose wireless, wired, or hybrid cameras.
- Test Wi-Fi strength before installation.
- Mount cameras 8 to 10 feet high when practical.
- Angle cameras downward for better facial and activity detail.
- Set motion zones and alert sensitivity.
- Enable strong passwords and two-factor authentication.
- Test daytime footage, nighttime footage, alerts, and recording storage.
FAQ: DIY Security Camera Setup
Can I install security cameras myself?
Yes. Many homeowners can install wireless or plug-in security cameras with basic tools. Wired systems may require more planning, especially if cables need to be routed through walls, attics, or exterior surfaces.
How many security cameras do I need?
Most homes benefit from cameras at the front door, driveway, back door, and any side entrance. Larger properties may need additional cameras for garages, yards, workshops, or detached buildings.
Do wireless security cameras work without internet?
Some cameras can record locally without internet, but remote viewing, cloud recording, and mobile alerts usually require an internet connection. Check your camera’s storage and connectivity options before installation.
Final Thoughts
A successful DIY security camera setup is not just about buying cameras. It is about choosing smart locations, confirming Wi-Fi and power, mounting cameras properly, and fine-tuning your settings after installation. With the right planning, you can build a reliable security camera system that helps protect your property and gives you greater peace of mind.