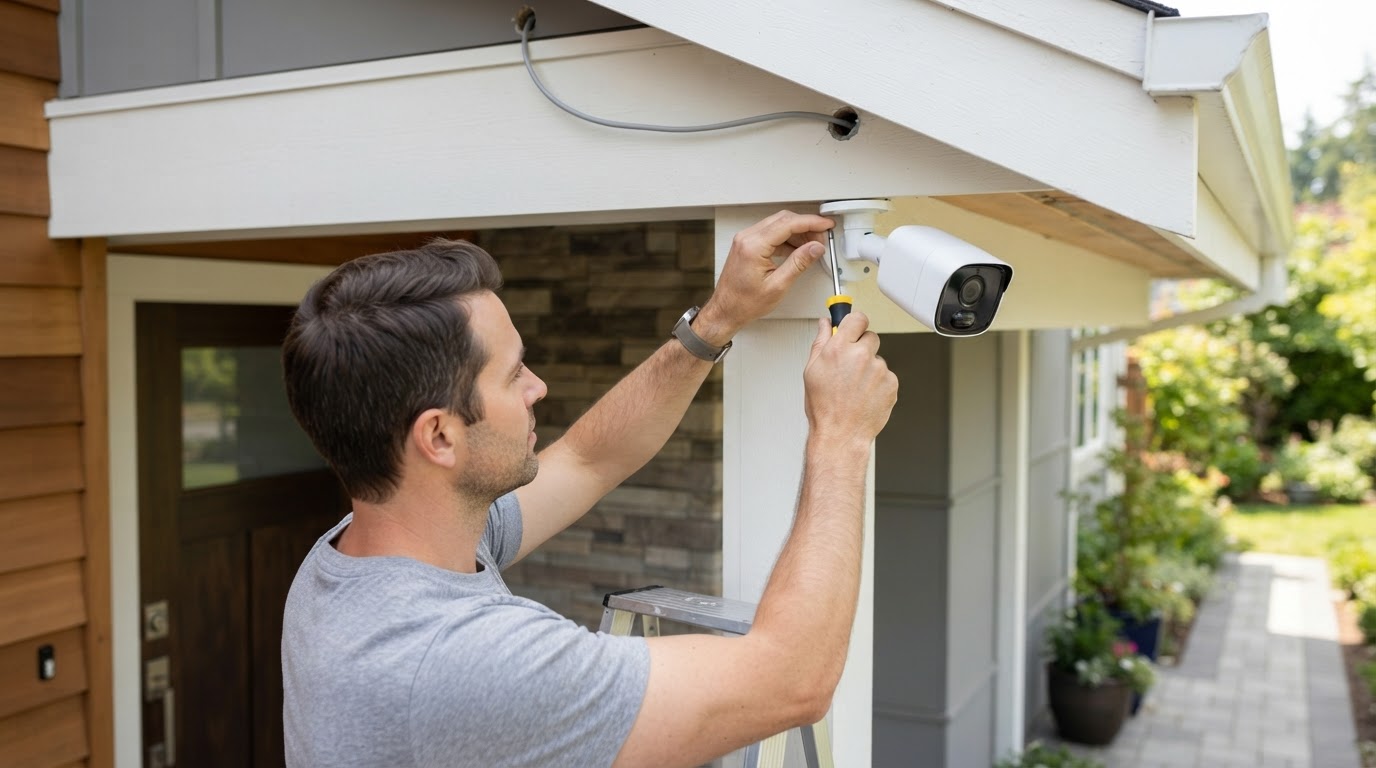
DIY Security Camera Setup Guides
Need help setting up your security camera products? Our DIY Setup Guides are designed to help customers understand their cameras, recorders, cables, mobile apps, and basic troubleshooting steps. These guides are for customers who want to set up and manage their own security camera products.
Use these resources to learn the basics before you begin. Always follow the product manual, use proper safety practices, and contact the product manufacturer or a qualified professional if you are unsure about electrical, ladder, roof, or network-related work.
Guide Categories
- Getting Started: What comes in the box, common parts, and items you may need.
- POE Camera Setup: Connecting POE cameras to an NVR using Ethernet cables.
- DVR/TVI Camera Setup: Connecting TVI cameras to a DVR and power supply.
- Camera Placement Tips: Choosing camera locations, reducing blind spots, and avoiding glare.
- Mobile App Setup: Connecting your recorder to the internet and viewing cameras from your phone.
- Troubleshooting Help: Basic checks for no video, no power, offline cameras, and night vision issues.
DIY Guide #1: How to Set Up a POE Security Camera System
A POE security camera system uses one Ethernet cable per camera to carry both power and video/data. This makes POE systems a popular option for customers who want a clean, simple camera setup with an NVR.
Before You Begin
- Read the product manual included with your camera and NVR.
- Plan where each camera will be placed before running cables.
- Make sure your NVR supports the number and type of POE cameras you are using.
- Use outdoor-rated cable and weather protection when placing cameras outdoors.
- Use safe ladder practices and avoid working near power lines.
What You May Need
- POE security cameras
- NVR with POE ports
- Ethernet cables
- Monitor or TV for initial setup
- Mouse for the NVR
- Internet router or network switch
- Drill, screwdriver, mounting hardware, and cable clips as needed
Step 1: Plan Camera Locations
Choose areas you want to monitor, such as doors, driveways, walkways, garages, checkout counters, storage areas, or parking spaces. Try to avoid pointing cameras directly into bright lights, reflective surfaces, or direct sunlight.
Step 2: Connect the NVR
- Place the NVR in a safe, dry, and ventilated area.
- Connect the NVR to a monitor or TV.
- Connect the included mouse.
- Connect the NVR to power.
- If you want remote viewing, connect the NVR to your router using an Ethernet cable.
Step 3: Connect the Cameras
- Plug one end of an Ethernet cable into the camera.
- Plug the other end into a POE port on the NVR.
- Wait a few minutes for the camera to receive power and connect.
- Check the NVR screen to confirm that video appears.
Step 4: Adjust the Camera View
After the camera video appears on the NVR, adjust the camera angle so it covers the area you want to monitor. Tighten the camera mount after the view is set.
Step 5: Set the Date, Time, and Recording Options
Use the NVR menu to set the correct date, time, timezone, recording schedule, and storage options. Accurate date and time settings are important when reviewing footage.
Step 6: Set Up Mobile Viewing
- Connect the NVR to your router.
- Open the mobile app recommended by the product manual.
- Create or sign in to your app account.
- Scan the QR code shown in the NVR network or app setup menu.
- Confirm that live view works on your phone.
Basic Troubleshooting
- No video: Check that the Ethernet cable is fully plugged in at both ends.
- Camera offline: Restart the NVR and confirm the camera is connected to a POE port.
- Poor night vision: Make sure the camera lens and IR area are clean and not reflecting off nearby surfaces.
- Mobile app not connecting: Confirm the NVR is connected to the router and has internet access.
Need Products?
Browse our online store for cameras, DVRs, NVRs, cables, network equipment, and accessories for your security camera setup.